
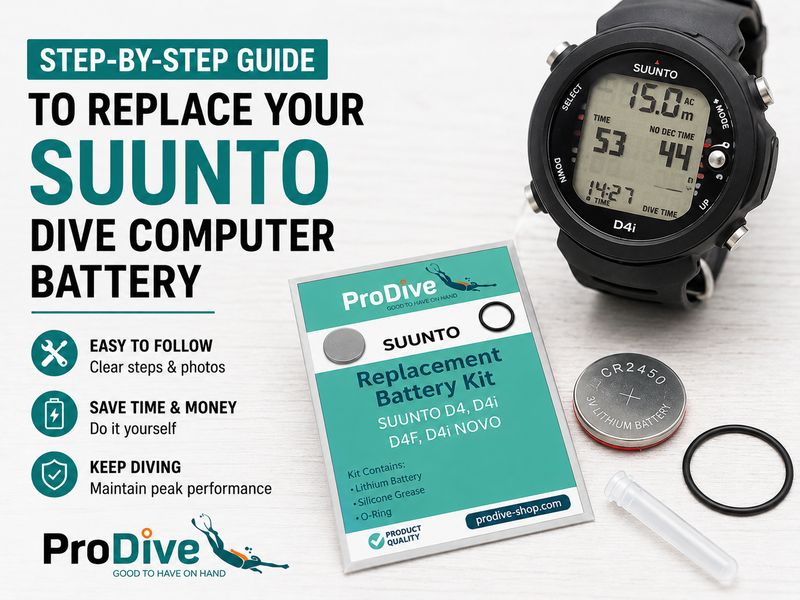
As a diver, your Suunto dive computer is an essential piece of equipment, providing vital information to ensure safe dives. To keep your device functioning optimally, you need to replace its battery periodically. Let's walk through the process of replacing the battery in your Suunto dive computer.
Tools and Materials Needed
- Replacement Battery Kit for Suunto Dive Computers
- Screwdriver for Suunto Dive Computer Battery Replacement
- Silicone Grease Lubricant
- O-Ring Replacement
- Soft Cloth
Step 1: Preparation
Begin by gathering all necessary tools and ensuring you have a clean workspace. Check the model of your Suunto dive computer to ensure you have the correct replacement battery kit. It's a good idea to work on a flat, non-slip surface to prevent any parts from rolling away.
Step 2: Unscrew the Battery Compartment
Using the appropriate screwdriver, gently unscrew the battery compartment cover located on the back of the dive computer. Be cautious not to strip the screws. Place the screws in a small container to avoid losing them.
Step 3: Remove the Old Battery
Carefully lift the battery compartment cover and set it aside. Remove the old battery, taking note of its orientation. This is important for ensuring the new battery is installed correctly. If your model has an O-ring, inspect it closely for any signs of wear or damage.
Step 4: Replace the O-Ring
If the O-ring is damaged or worn, replace it with a new one from an O-ring kit. Apply a thin layer of silicone grease to the O-ring to ensure a watertight seal. This step helps prevent water ingress, which can damage your dive computer.
Step 5: Install the New Battery
Insert the new battery into the compartment, ensuring the orientation matches that of the old battery. Make sure it sits snugly in its place. Take care to avoid touching the battery terminals with your fingers, as this can cause corrosion.
Step 6: Reassemble the Dive Computer
Replace the battery compartment cover and carefully screw it back into place. Be sure not to over-tighten, as this can strip the threads or crack the cover. Ensure that the O-ring is seated properly to maintain the integrity of the seal.
Step 7: Test the Dive Computer
Once reassembled, power on your dive computer to confirm that it turns on and is functioning correctly. Check that all functions and displays are operational. If there are any issues, double-check the battery orientation and reassemble.
Conclusion
Replacing the battery in your Suunto dive computer is a straightforward process that can be done at home with the right tools and a bit of care. Regular maintenance will ensure your dive computer remains reliable and extends its lifespan.
For all your dive computer battery kits and accessories, visit ProDive Shop. We stock a wide range of dive computer parts and ship worldwide.
Leave your comment
Note: HTML is not translated!